Beginning The Journey Of Ashtanga - Tutorials and Practices For Beginners
Ashtanga for Beginners
Over the past 25 years of teaching, I've seen students come to the practice for many reasons: back pain, stress, lack of energy, weight loss, or to just feel happier.
Our teacher, Pattahbi Jois says yoga is medicine. It's medicine for our bodies, our minds and our energy.
I stumbled onto this path of yoga, quite unexpectedly in 1987 in Kyoto, Japan. I had no idea how profound and transformative this practice would become in my life. The practice of Ashtanga yoga physically made me stronger than I had ever felt before and gave me physical strength, vibrant energy and peace of mind.
I began teaching Ashtanga because I wanted to give to others what had been such a life changing experience for myself. Life is a mixture of joy and challenge. Practicing Ashtanga helps us get through those challenges with strength and grace. It's the one practice that touches everything else.
Ashtanga yoga is a traditional practice. This lineage was passed down to us by Sri K. Pattahbi Jois who established the Ashtanga Yoga Research Institute in Mysore, India in 1948. Today the institute continues under the instruction of Sharath, Pattahbi Joi's grandson.
I have the honor of being authorized to teach Ashtanga after my many pilgramiges to study with Guruji, which is what we affectionately called him. I've had an Ashtanga yoga shala (school) for 12 years passing the lineage of Ashtanga to thousands of students. Guruji said "yoga is universal" and is for everyone. But, in my many years of teaching I've found that not everyone has access to an authorized teacher and an Ashtanga school. It is my hope that our course will open the doors of Ashtanga to those who may not have otherwise had the opportunity or access to experience this beautiful tradition. "Gu" means light and "ru" means dispeller of darkness. As Guruji has shed light on my path, my great hope is that this course will begin your Ashtanga path and shed light on your life.
"...the mind is the cause of both bondage and liberation. If the mind is sick and sad, the whole body gets sick, and all is finished. So, first you must give medicine to the mind. Mind medicine, that is yoga."
-Sri K Pattahbi jois
This course is your prescription for vibrant health and energy. Begin your practice, follow our 30-day program and enjoy your vibrant health!
Blessings,
Diana
"Diana Christensen is an amazing woman who strives to teach us a quality of practice that focuses not just on the physical practice, but the mind and spirit as well. These skills are relevant on the mat but also outside the studio in our daily practice of life." - Derek Voien (Student)
"Her enthusiasm and love for Ashtanga yoga is very impressive. It's a wonderful gift to watch her light up when she speaks to us about what makes ashtanga as special as it is." - Timea Agnew (Student)
"After many years of practicing several different yoga methods, I found Ashtanga and fell in love with it. Ashtanga took me to another level, physically, spiritually, and mentally. Diana's teaching, guidance, support and dedication to the practice were such an important part of the transformation that I experienced. The practice will always be an important part of my life, and the benefits are endless." - Richard Beatie (Student)
"The principles of breathing, posture, core control, and movement that I've learned through Diana and Pacific Ashtanga have helped me avoid pain and injury even as an active (and aging) triathlete. The challenge of Ashtanga yoga always draws me, as does the way Diana presents it. I can have an active, rigorous and even fun practice while improving my flexibility and range of motion. That affects me off my mat, as I'm still able to do so many athletic things I thought that would be off limits in my 50s." - Dave Kiff (Student)
-
Breath Lecture
Without our breath practice, we would be performing gymnastics. The breath is the integral part of the practice that connects each movement. Many would say that the breath is the most important part of the practice.
"When breath control is correct, mind control is possible."
-Sri. K. Pattabhi Jois -
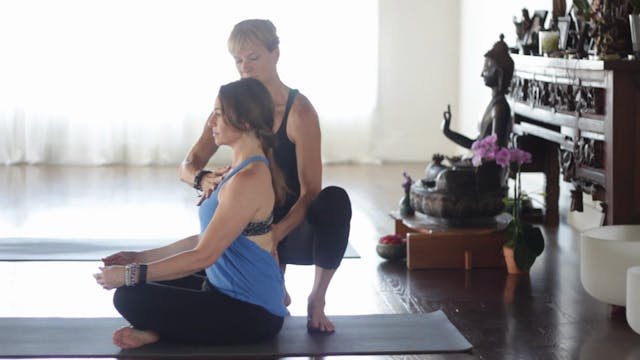
Breath Posture Tutorial
Sitting up tall is very important for the health of the spine and to all the energy to move through the body unhindered. Most of us slump forward when we're not aware. Our practice helps to give us better posture, reducing back pain.
-
Breath Practice
This is a demo of the Ujjayi breath. This is the breath that we practice throughout our movement.
-
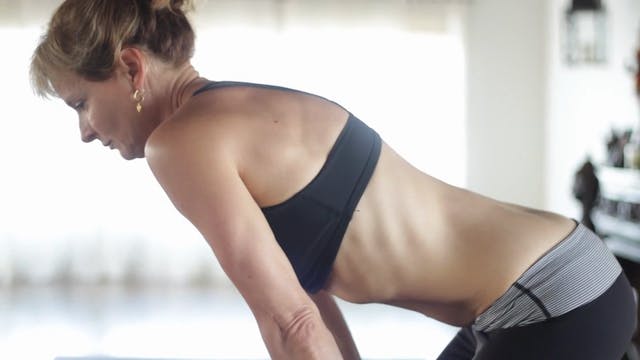
Agnisara Lecture
Agni means "fire" and Sara means "essence." It's a deep breath and this lecture describes the practice.
-
Agni Sara Tutorial
This video shows us how to practice Agni Sara Pranayama (breath).
-
Agni Sara Practice (Fire Essence)
This is a GREAT practice to incorporate daily. Agni Sara is wonderful for toning and strengthening the abdominal muscles and it's helpful for digestion.
-
Breath Movement Lecture
Linking breath and movement is an important foundation of the Ashtanga practice.
"Breathing is very important. Without breathing, the spiritual mind and body are not coming. There is a method to breathing. That is Vinyasa."
-Sri. K. Pattabhi Jois -
Breath Movement Practice
This short practice will get you linking your breath with your movement.
-
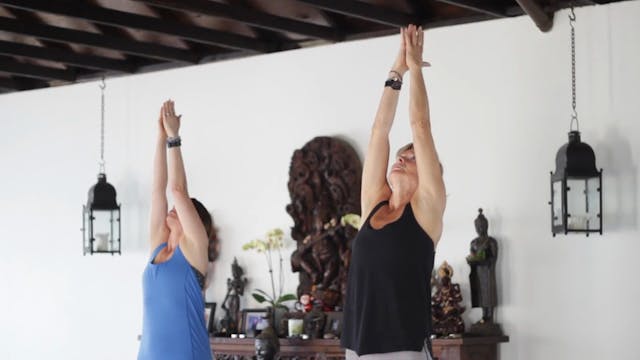
Sun Salute lecture
Sun Salutations or Surya Namaskar are the way we begin our practice. They're designed to warm the body from the inside. They also shift our focus to the internal practice and connect our breath and movement.
"But first you start with Surya Namaskar. Surya Namaskar is a prayer to the sun."
-Sri.... -
Sun Salute A Demo
This demo shows different modifications for your sun salutation. You can decide which works best for you.
-
Sun Salute A tutorial Chaturanga Updog Down Dog Lowering Down
This is a description of the proper movement from through chatturanga to up dog and then to down dog.
-
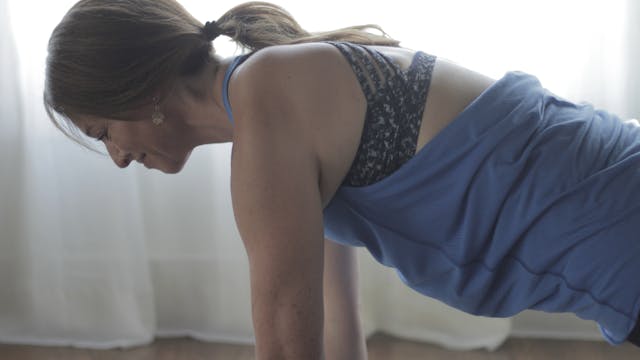
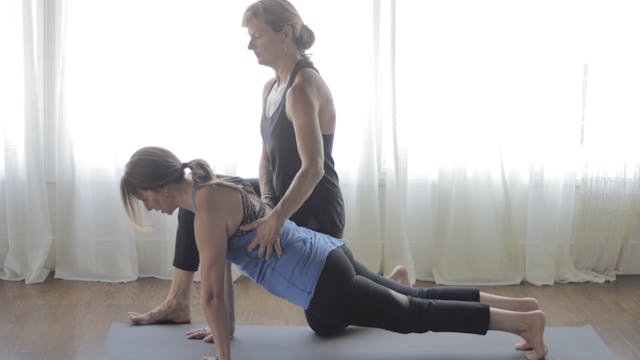
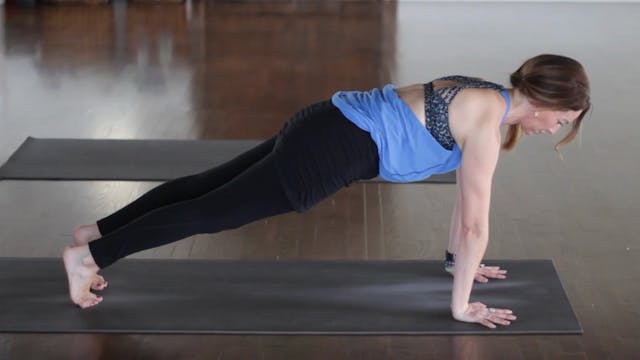
Sun Salute A Tutorial Good Plank
How to practice plank.
-
Sun Salute A Tutorial Bad Plank
This video goes over some of the common mistakes made in plank and how to fix them
-
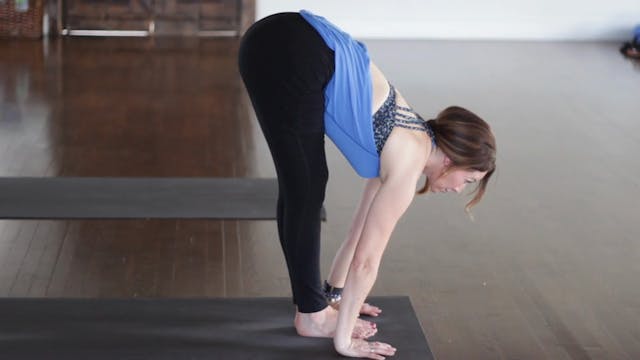
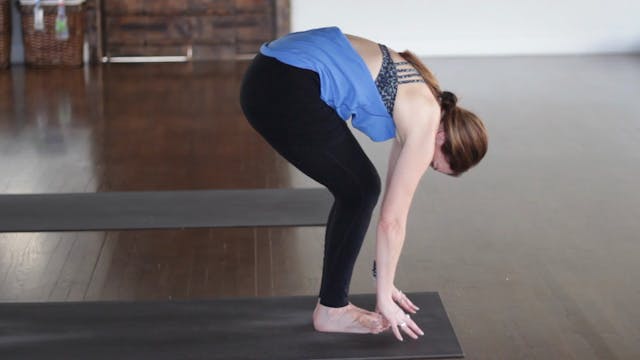
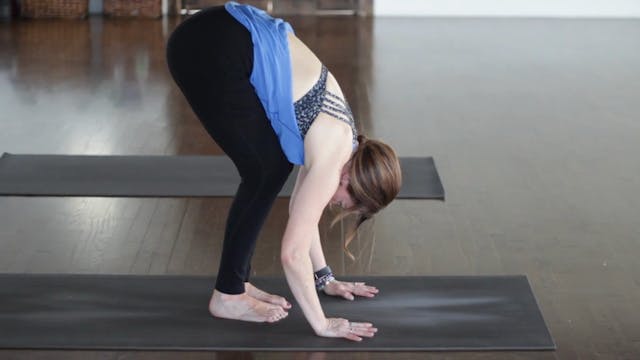
Sun Salute A Tutorial Forward Bend
This tutorial shows you some modifications for tightness as you forward fold.
-
Sun Salute A Tutorial Step Back With Bent Knees
This is a way to modify your sun salutations as you increase your strength.
-
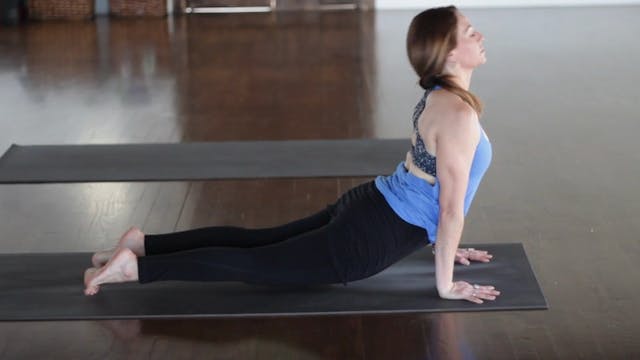
Sun Salute A Tutorial Up Dog Good Dog
This is a tutorial showing how to move from plank to upward dog. Chatturanga is a very difficult pose requiring a lot of abdominal and upper body strength. Holding plank is a way to increase that strength without putting the shoulders at risk. Proper alignment of upward dog is showed here as well.
-
Sun Salute Tutorial A Step Back Up Dog Down Dog
This is an explanation of how to step back to plank and then to lower to chatturanga. Rememeber to keep the gaze slightly forward while moving through chatturanga, instead of letting the head drop.
-
Sun Salute A Tutorial Jump Back Up Dog Down Dog
You don't ever have to jump back or forward during your sun salutes, but if you do decide to jump back, please do so with your abdominals engaged and land in chatturanga with your elbows bent at 90 degrees.
-
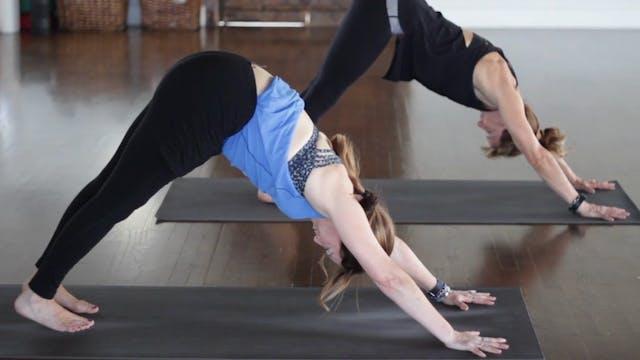
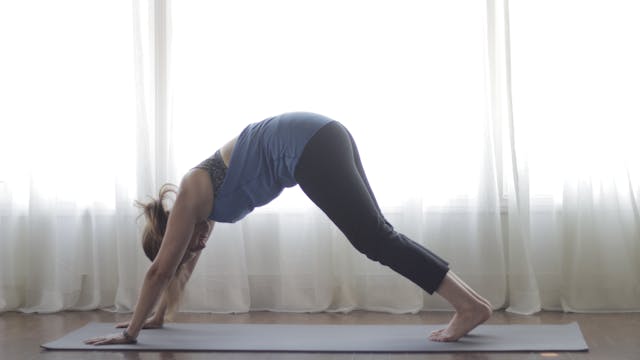
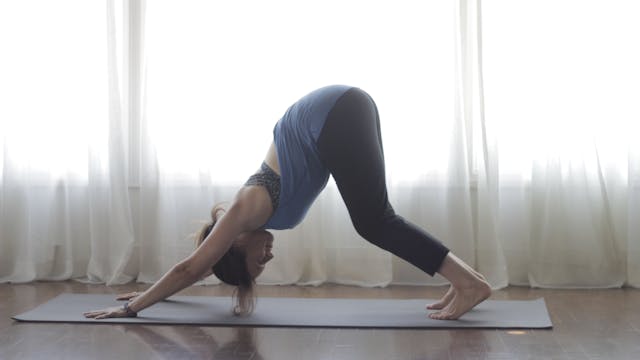
Sun Salute A Tutorial Down Dog Good
A tutorial for the proper practice of down dog with rolling over the toes from up dog.
-
Sun Salute A Down Dog Bad
This is a common down dog mistake and how to correct it.
-
Sun Salute A Tutorial Up Dog Bad Dog
How to practice upward facing dog.
-
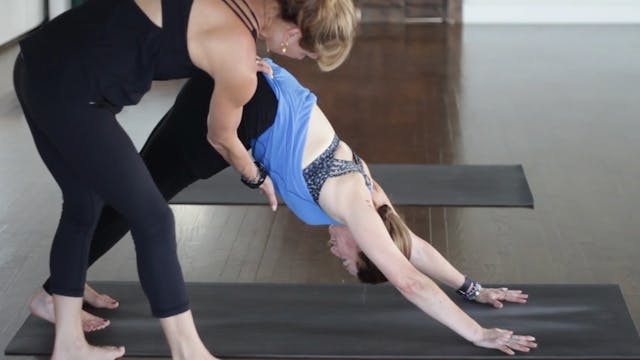
Sun Salute A Tutorial Downward Dog Modification
How to modify downward dog with tight hamstrings.
-
Sun Salute A Tutorial Transition From Downward Dog
Transitions are an integral part of the Ashtanga practice. The more we practice them, the smoother, more seamless the practice becomes.
-
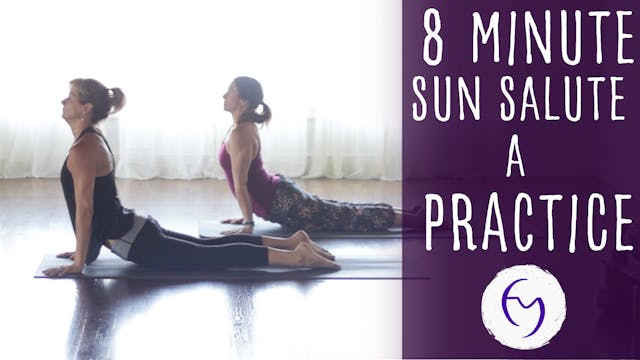
Sun Salute A Practice
This is a good place to start. Sun Salutes can be a complete practice or they can be a warm-up. If you're newer to the practice, start here. This will help you to link your breath and movement and to increase your stamina.
-
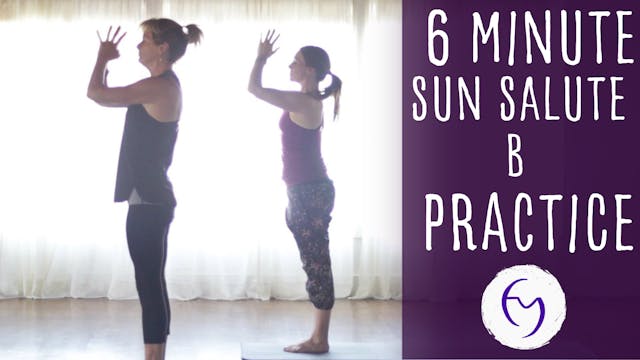
Sun Salute B practice
Surya Namaskar B or Sun Salute B can be a challenging practice if you're not familiar with it. It's challenging to link your breath with your movement, so as you practice this video, focus on your breath practice. Try to avoid rushing through chatturanga, but give it a full exhale. Follow that fu...
-
Sun Salute A and B practice
This practice puts the A and B salutations together. A wonderful way to start your day!
-
Standing Sequence Lecture
This lecture discusses the standing poses in the Ashtanga sequence and how to incorporate them into the practice with your breath.
-
Vinyasa Standing Transitions Tutorial
How to move in and out of a pose with mindfulness and breath.
-
Padagustasana
Pada means "foot" and gusta is "big toe." So, we take the big toes and gently squeeze as we fold forward to stimulate energy channels. This pose is calming to the mind and helps to stretch the hamstrings as well ca strengthen the thighs. It's also good for digestion.
-
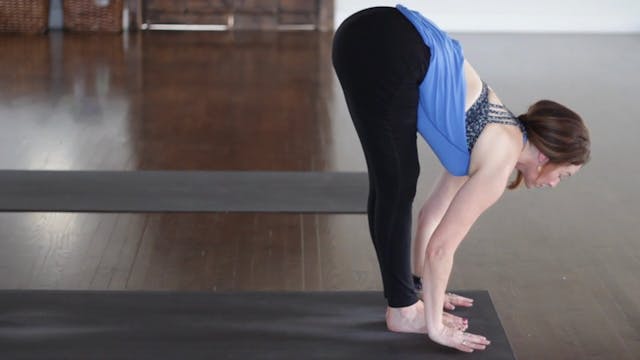
Padahastasana
Pada means foot and hasta means hand. We're stepping the feet onto the hands in this forward fold which is a great stretch for the wrists after our sun salutations.
-
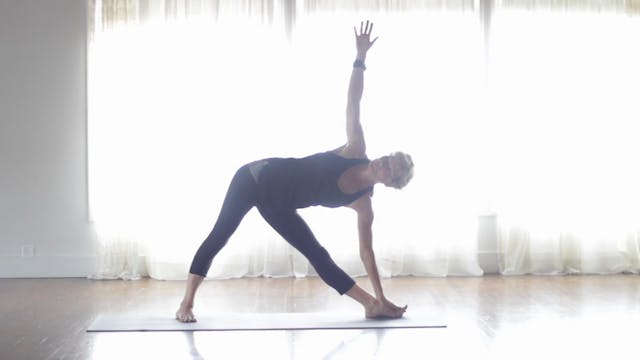
Utthita Trikonasana - Extended Triangle Pose
Triangle or Utthita Trikonasana helps to stretch the side body, legs, shoulders and chest. This posture is also great for cultivating strength in the arms and legs, balance and stability.
-
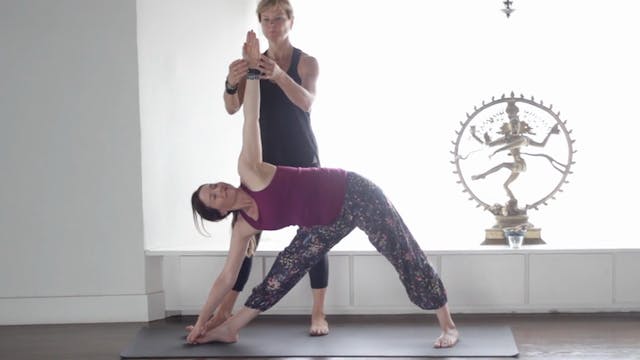
Parivrtta Trikomasana - Twisted Triangle
Twisted Triangle or Parivrtta Trikonasana can be very challenging. It strengthens and stretches the legs. The spine and hips also stretch. It's a twist which is great for digestion. It can relive mild back pain when practiced correctly.
-
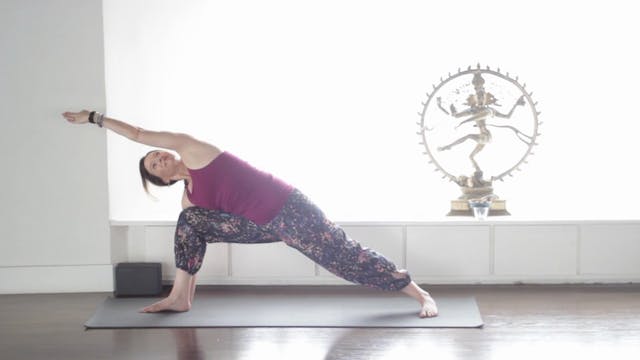
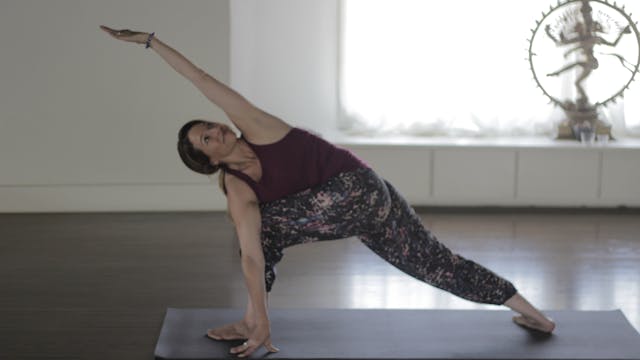
Utthita Parsvakonasana - Extended Side Angle Pose
Extended Side Angle or Utthita Parsvakonasana is an invigorating pose that strengthens the legs, abdominals and arms. This posture also creates stability and stretches the hips and groins.
-
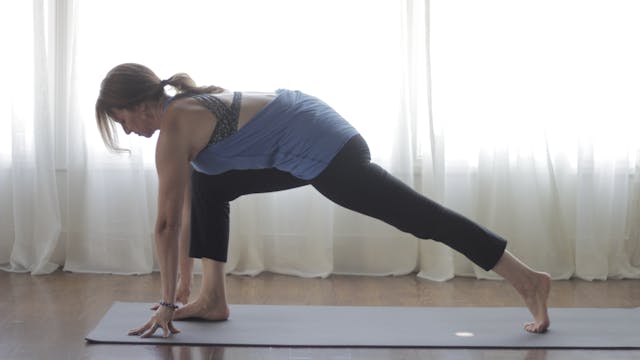
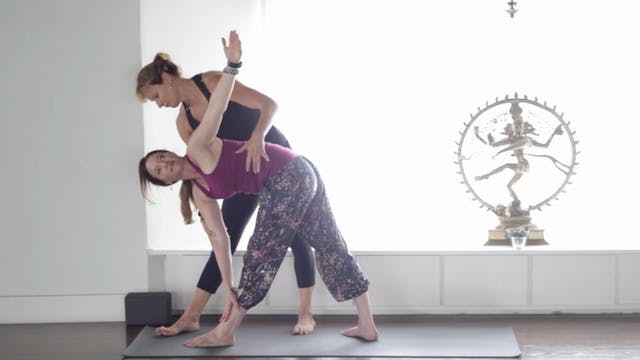
Parivrtta Parsvakonasana - Twisted Side-Angle
Twisted Side-Angle or Parivrtta Parsvakonasana stretches the groins, spine, chest and shoulders. It's wonderful for digestion and balance. It also strengthens the legs and shoulders.
-
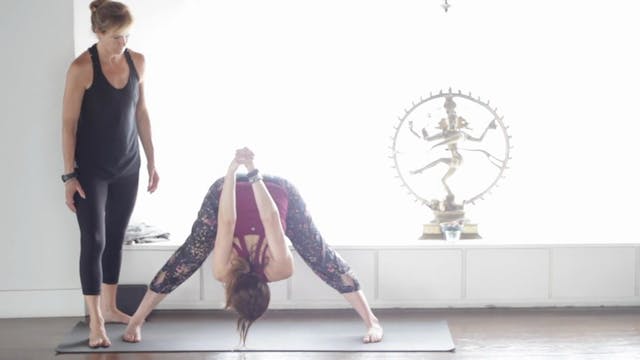
Prasarita Padottonasana A, B, C and D
Prasarita Padottonasana A B C and D is also know as the wide-legged forward bend. It provides stretching for the back, hips, groins and hamstrings. Variations B & C also stretch the shoulders.
-
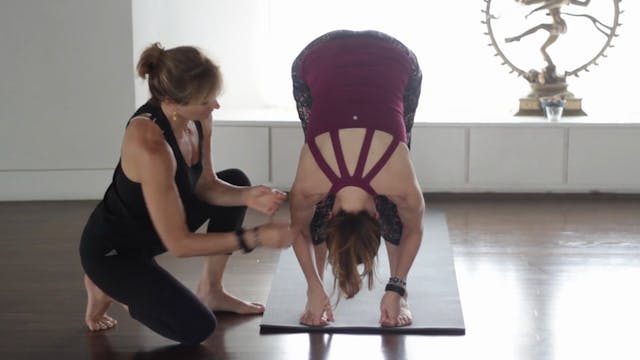
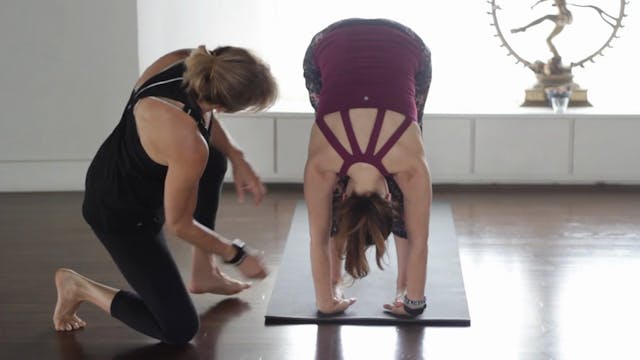
Parsvottanasana
Parsvottanasana is sometimes called pyramid pose. It stretches the shoulders and hamstrings. It's also helpful to build balance and to calm the mind. If your shoulders or wrists are tight, please practice the modification of holding your opposite elbows.
-
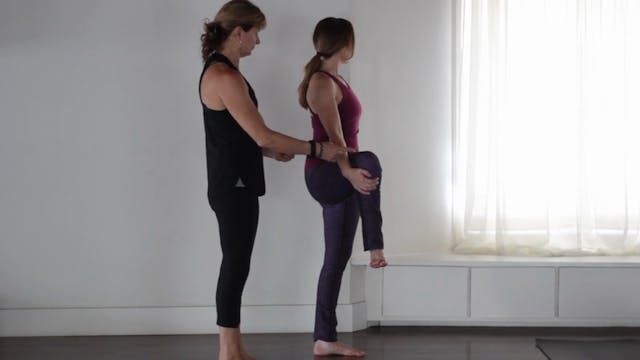
Utthita Hasta Padangusthasana
Utthita Hasta Padangusthasana or hand to big toe pose. This one can be a very challenging balance, so please use a wall for stability if needed. This posture strengthens the legs, cultivates balance and stability and opens the hips.
-
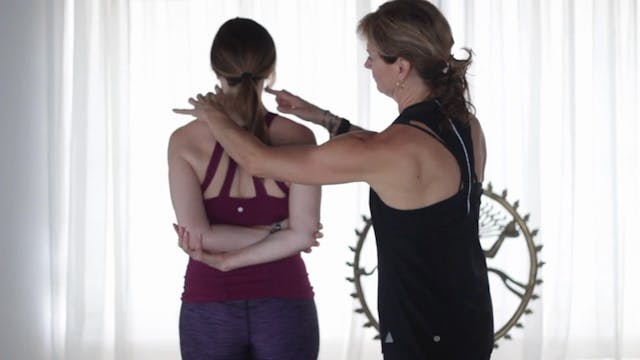
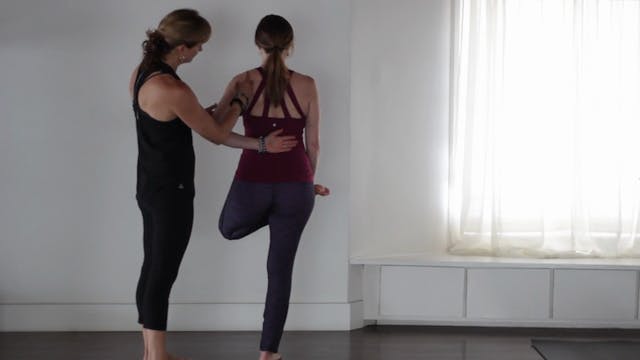
Ardha Baddha Padmottanasana
This posture opens the hips and shoulders. It's great to practice balance. If you find this posture very difficult, you can always use a wall for support.
-
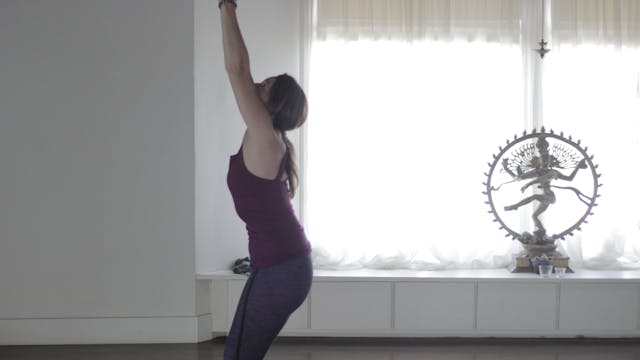
Utkatasana
Utkatasana, sometimes called, "chair pose" tones the legs muscles, hip flexors, ankles, calves and back. It also stretches the chest and shoulders.
-
Virabhadrasana - Warrior 1
Virabhadrasana 1 or Warrior 1 is also great for strengthening and stretching the legs, shoulders, arms and back. It improves circulation, focus, balance and stability.
-
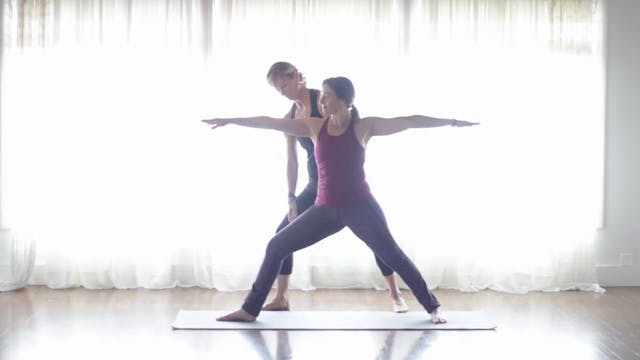
Virabhadrasana - Warrior 2
Virabhadrasana 2 or Warrior 2 is a wonderful standing posture that creates strength in the arms and legs. This pose also stretches the shoulders, hips and groins. It builds stamina and concentration. Warrior 2 also helps develop balance and stability and improves circulation and respiration.
-
Standing Sequence Practice
This practice incorporates all of the standing poses in the Ashtanga sequence. It's great for feeling grounded. You can do this alone or incorporate it with other sequences to increase the length of your practice.
-
Seated Sequence Lecture
Newer students sometimes think that when we get to the seated poses, the practice will become easy, but there is still intensity in the seated postures. Your body is warm at this point, and that allows us to get deeper into some stretching. We continue to keep the heat as we move through the seat...
-
Vinyasa Seated Transitions Tutorial
This tutorial shows how to transition between seated postures.
-
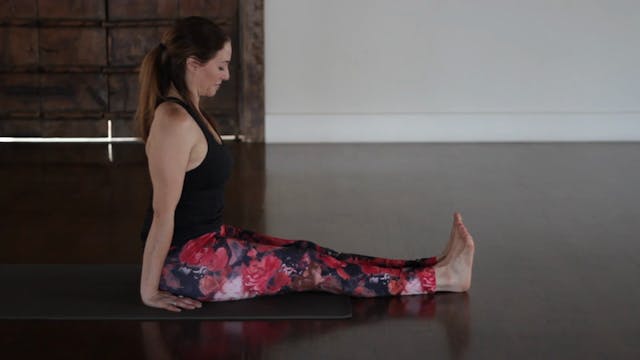
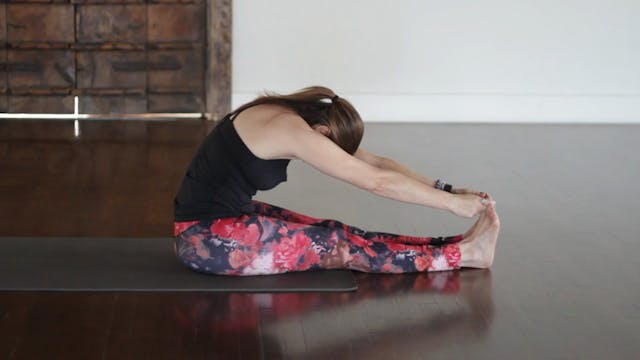
Paschimattanasana
This is the preparation for the forward fold. It also is wonderful for keeping the back and leg muscles strong.
-
Paschimattanasana A
Paschimottanasana A helps to reduce stress and calms the mind. It stretches the spine and hamstrings. Be sure to practice this posture with a long spine, instead of rounding the back. Also, keep the leg muscles engaged.
-
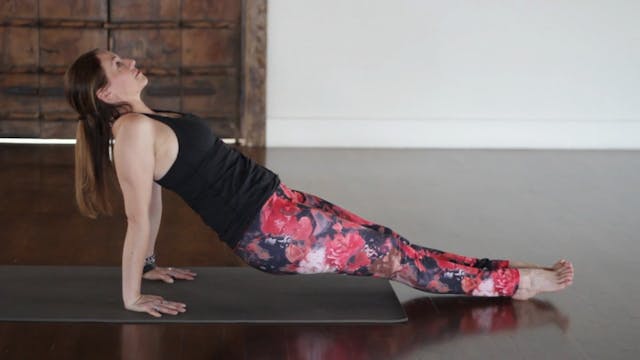
Purvattanasana
Purvottanasana strengthens the shoulders, back and legs. It also helps to open and stretch the chest and shoulders.
-
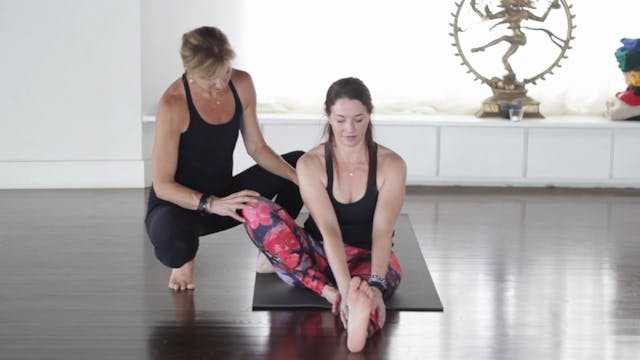
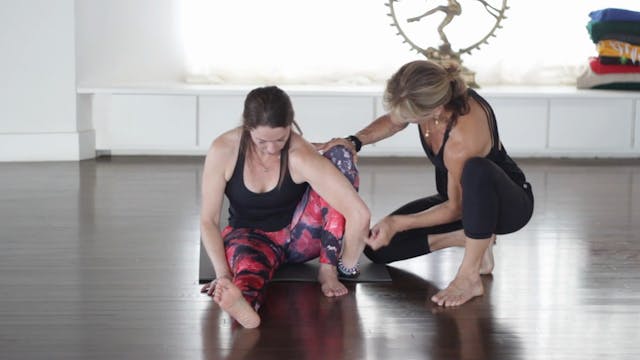
Ardha Baddha Padma Paschimattanasana
Ardha baddha padma paschimottanasana opens the hips and knees and stretches the spine. The abdominal organs are toned as circulation is increased.
-
Tiriangmukhaikapada Paschimattanasana
Tiriang Mukha Eka Pada Paschimottanasana: calms the mind and opens the hips. Be sure to modify with a block if you have any pain in the knee of the bent leg.
-
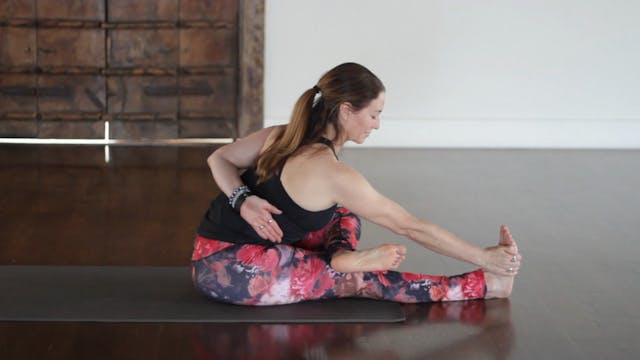
Janu Sirsasana A
Janu Sirsana A stretches the spine and hamstrings. It helps to reduce belly fat and it good for reducing bloating and gas.
-
Marichyasana A
Marichiasana A stretches the spine, improves digestion, calms the mind and stretches the shoulders.
-
Marichyasana C
Marichiasana C is a seated twist. It tones the belly organs, helps relieve lower back stiffness (when practiced properly), and keeps the intervertebral disks lubricated.
-
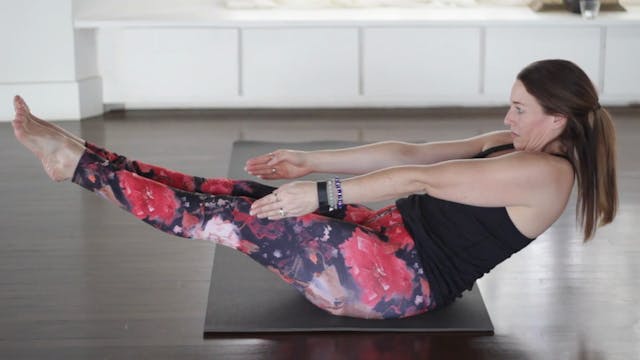
Navasana - Boat Pose
How to practice Navasana correctly and how to avoid common misalinments.
-
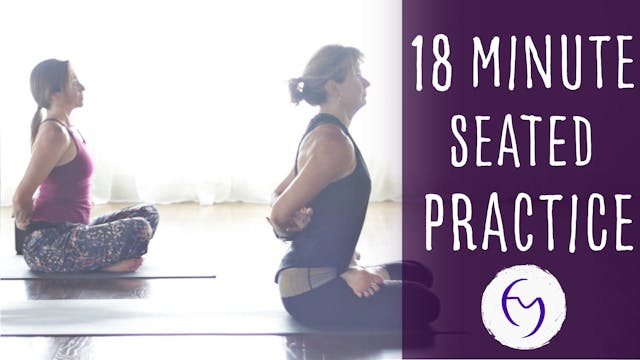
Seated Practice
Our 18 minute seated practice is fun to do alone or after the standing pose sequence. This practice will help you to increase abdominal strength and will stretch your back, hamstrings and hips.
-
Backbend Lecture
Backbends open the front of the body and help us to break open the knot in the heart.
-
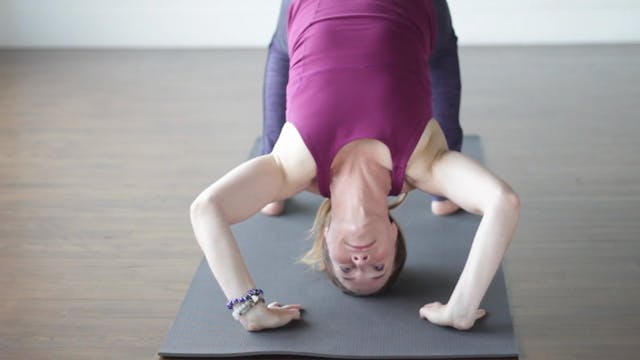
Urdhva Dhanurasana - Backbend Tutorial
Urdhva means "upward" and Dhanurasana means "bow" This is how to practice the full backbend or upward facing bow pose (sometimes called wheel). This posture can be very challenging and it's important to pay attention to your body as you move into it. Backbends are very invigorating and can be up...
-
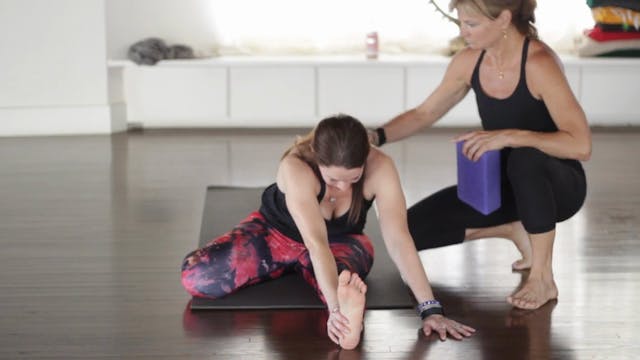
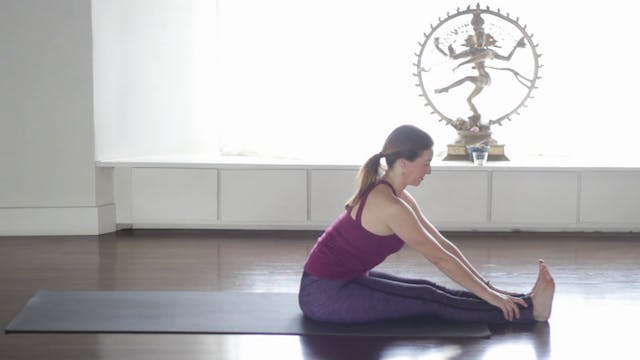
Paschimattanasana - Counter Pose Tutorial
Paschimattanasana means "western-facing" stretch. Traditionally, sun salutes were done facing in the East as the sun rose in the morning. While forward folding in Paschimattanasana, your back would be facing the West. This forward fold comes after our backbends, so it's used as a counter-pose to ...
-
Closing Sequence Lecture
All of the heat and energy we've created culminates into the closing sequence. Now we get to take ourselves upside down, going against gravity. This helps to take pressure off of the internal organs and also helps to reduce pressure on the spine.
-
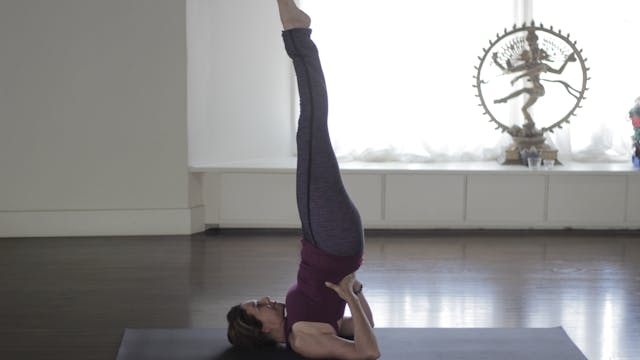
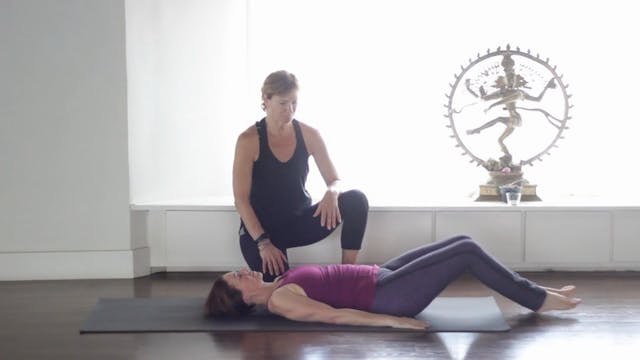
Sarvangasana - Shoulder Stand
This posture is sometimes called the "queen of asanas" because it has many benefits. It is said to be good for thyroid and heart health. This posture is also great for circulation and is said to slow the aging process. If you have any issues with your neck or back, please practice this posture ca...
-
Halasana - Plow
Halasana is also said to have many benefits including, improving digestion and appetite. It may be effective in weight loss. It's great for strengthening abdominal muscles and reducing stress.
-
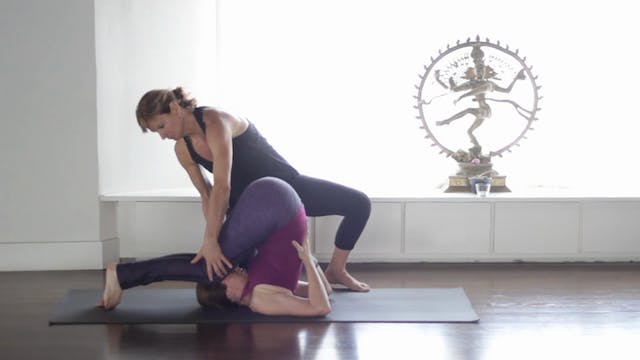
Karnapidasana
Karnapidasana (knee to ear pose or ear pressure pose) is great for strengthening the spine. It also stretches the shoulders and back. This posture may also strengthen the lungs and can be helpful to stimulate the abdominal organs and thyroid gland. It may also help hypertension and backache.
-
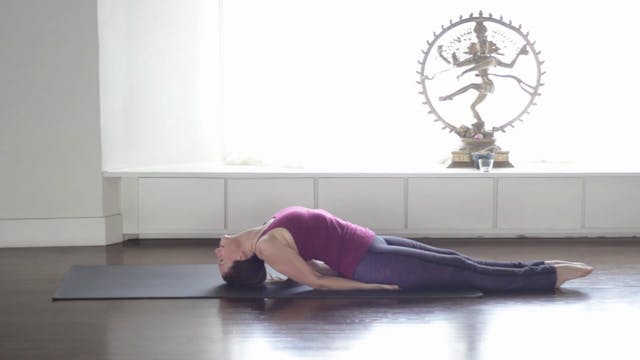
Matsyasana - Fish Pose
Matsyasana or Fish pose is one of my (Lesley's) personal favorites. This posture relieves tension in the neck, throat and shoulders. It also stretches and tones the abdominal muscles. I think of this as the "anti-text-neck" pose!
-
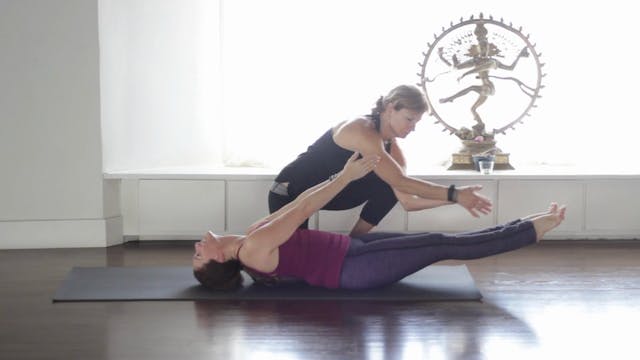
Uttanapadasana
Uttanpadasana or the raised leg pose has all of the benefits of matsyasana (fish pose), and it also strengthens the abdominals and hip flexors. This is an excellent posture for "six-pack abs!"
-
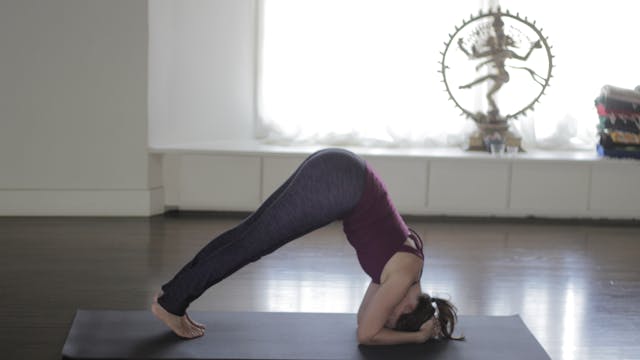
Modified Headstand
Sirsanasana or headstand is sometimes called the "king of asanas." In this tutorial, we'll show you how to modify this advanced posture to make sure your neck stays safe. You'll still experience the benefits of increased circulation and this pose is great for stretching and strengthening the shou...
-
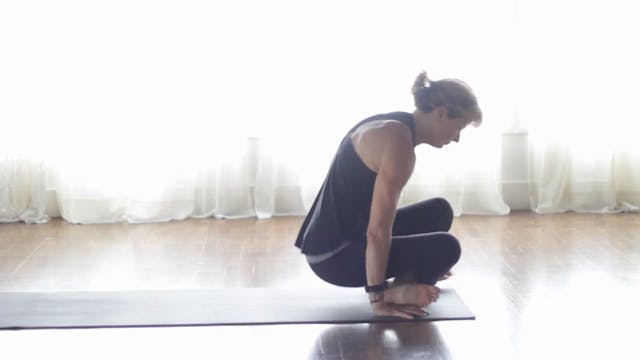
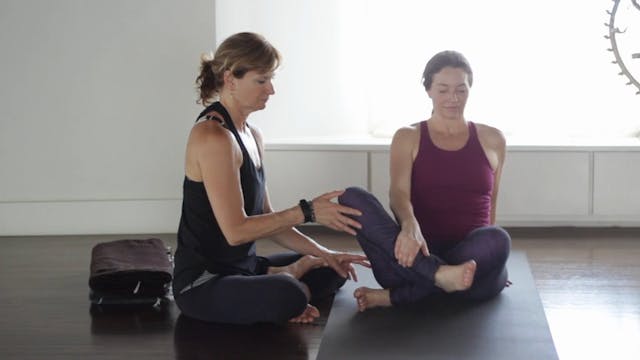
Padmasana - Lotus
This posture helps to stretch the hips. It's great to practice keeping the spine extended, helping to develop good posture. Always be mindful of your knees and ankles while practicing padmasana. If the hips aren't open enough for the full posture, stay with the modification.
-
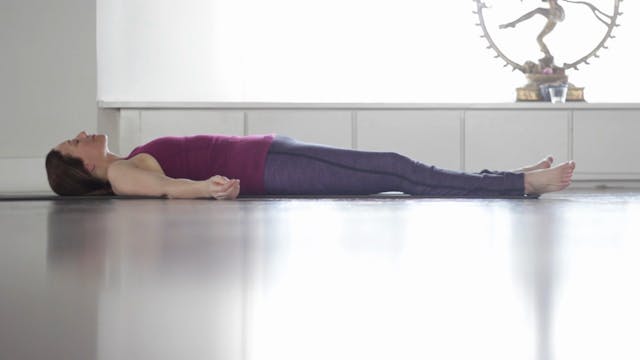
Savasana
And now we get to take our rest. Savasana translates to "corpse pose" and it's where we can integrate all the benefits of our practice. This posture calms the brain and relaxes the body. You may be tempted to skip it on a busy day, but always at least take a brief Savasana...it's very important!
-
Practice Lecture
This short lecture describes the way we've designed the course to move from practices that are simpler to more complex practices. Also, we recommend a daily practice, so there are different lengths of practice to choose from, depending on the amount of time you have.
"Yoga is 99% practice and 1%... -
45 Min Ashtanga Practice
This is a complete practice that you can do 6 days a week if you wish. It's best to work up to this practice, as it's not easy, but once you can do it, you'll be amazed at the results after practicing it 6 days a week (minus days where there is a full moon or a new moon).
-
30 Min Ashtanga Practice
This is a great practice to work up to the 45 minute practice or to do when you're short on time. Again, work up to practicing 6 days a week. The transformation is amazing!
-
15 Min Ashtanga Practice
This is a wonderful practice to start as you're going through the tutorials and learning the postures. It's also a great way to fit in a practice on a busy day!
-
 98.3 KB
Ashtanga Course Dedication
98.3 KB
-
119 KB
30 Day Ashtanga Course
119 KB